
In this guide
- Decorative laminates for furniture are thin sheets, usually 0.8 mm or 1 mm, bonded onto plywood, MDF or particle board.
- 1 mm feels sturdier than 0.8 mm and suits surfaces that take more handling; both look the same once fixed.
- Laminate both faces of every panel, with a liner or a balancing sheet inside, so it moves evenly and stays flat.
- Compact laminates start at 2 mm; those thicker than about 5 mm are self-supporting and need no board behind them.
- IS 2046 allows ±0.10 mm on sheets from 0.5 to 1.0 mm thick, so a proper check needs a micrometer, not a tape.
Which laminate thickness do you need?
For most home furniture, the right laminate thickness is 0.8 mm or 1 mm: 0.8 mm for everyday shutters, wardrobes and shelves, and 1 mm for surfaces that take more handling, such as drawer fronts and kitchen base units. Inside faces get a liner. Sri Sri Plywoods matches each part of the job to the thickness it needs.
Laminates for furniture are thin skins. IS 2046, the BIS standard for decorative laminates, describes thin single-faced laminates as usually less than 2 mm thick and meant to be bonded to a supporting board. The board gives strength; the laminate gives the face its looks and its resistance to wear.
| Thickness | Type of sheet | Typical use |
|---|---|---|
| Thinner than the face sheet | Liner / inner laminate | Cabinet interiors, backs of shutters, drawer insides |
| 0.8 mm | Decorative laminate | Wardrobe and kitchen shutters, shelves, TV units, wall panels |
| 1 mm | Decorative laminate | Drawer fronts, base units, study tables, surfaces handled daily |
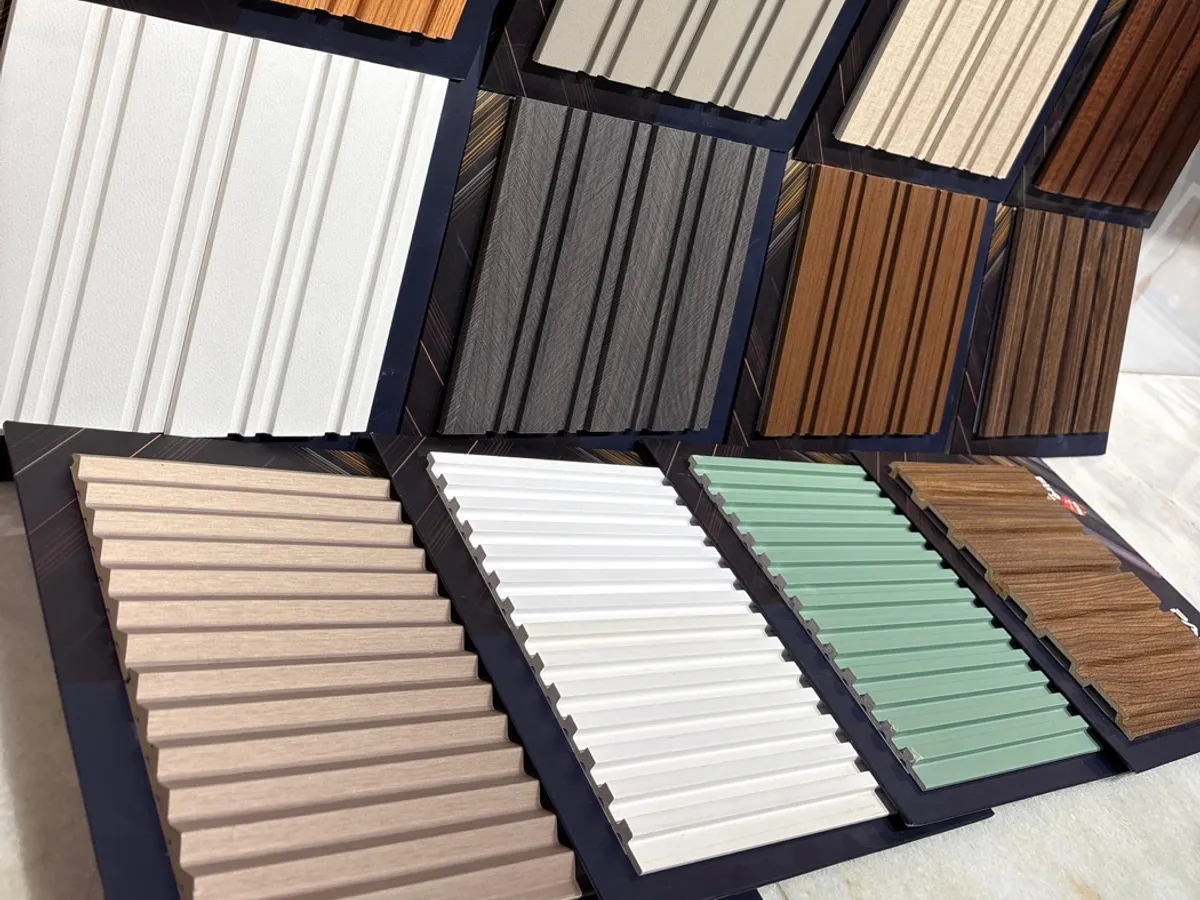
| 1.5 mm | Thicker decorative laminate | Special ranges, such as some fluted designs |
| 2 mm to about 5 mm | Compact laminate | Panels that need rigid support but not always a bonded board |
| Over about 5 mm | Self-supporting compact | Washroom partitions, lockers; for example 12 mm and 18 mm cubicle panels |
What is the difference between 0.8 mm and 1 mm laminate?
Both are decorative laminates made the same way: resin-soaked kraft paper under a printed, resin-hardened face. The 1 mm sheet simply has more core, so it feels stiffer in the hand and stands up a little better to knocks and handling. Merino's own thickness guide describes 0.8 mm as a balanced choice for most furniture and 1 mm as the pick for areas that see frequent handling, such as drawers and lower cabinets.
What does not change is the look. Once either sheet is glued to a board and edge-banded, you cannot tell them apart from the front. The design, finish and quality of fixing matter far more to how the furniture looks than the step from 0.8 mm to 1 mm.
So spend the extra where it earns its keep. Ask for both rates for the same design, then use 1 mm only on the parts that take real wear, such as the drawer fronts under the hob, the shutters beside the sink and a study table a child leans on every day. The tall wardrobe doors and overhead units above eye level rarely need it, and a mixed order is perfectly normal for a carpenter.
- Pick 0.8 mm for wardrobe shutters, overhead units, shelves, TV units and wall panels.
- Pick 1 mm for kitchen base shutters, drawer fronts, study and dining tabletops, and children's furniture.
- Keep one thickness per run of shutters, so the doors sit at the same depth and the edges line up.
Why does the inside face need a liner laminate?
A liner laminate goes on the inside face of a panel to balance the decorative sheet on the outside. Laminate and board move differently as humidity changes, so a panel laminated on one face only can bow. Laminating both faces keeps the stresses even and the panel flat, and it gives cabinet interiors a surface that wipes clean.
Merino's technical guide explains why: laminate is essentially 70% cellulose, and it expands and shrinks with humidity and temperature, noticeably more along its length than across its width. The guide recommends conditioning the laminate, the board, the adhesive, the liner and the backer together for at least 48 hours, ideally at around 24°C and 55% relative humidity, so every layer starts at the same moisture level.
In a Tricity home that swings from dry summer air to a humid monsoon, that balance matters. Our guide to plywood grades makes the same point from the board side: laminate both faces, and edge-band every exposed edge.
When do you need a thicker or compact laminate?
Thicker sheets are for special jobs, not an upgrade for every cupboard.
For special ranges
Some brands make thicker decorative sheets for textured or three-dimensional designs; Greenlam, for example, lists a 1.50 mm fluted range. They are still bonded to a board.
Supported, not always bonded
IS 2046 describes compact laminates in this range as needing rigid support, without necessarily being bonded to a substrate.
Self-supporting
Usually decorated on both faces and strong enough to stand alone. Washroom partitions are the classic use; Greenlam Sturdo builds cubicles in 12 mm and 18 mm compact.
For a kitchen or wardrobe at home, compact laminate is rarely needed. It is heavy, it needs specialised cutting, and a well-made laminated plywood panel does the same job in a dry room. Wet-area furniture, such as a vanity, is a different case worth discussing with an advisor.
Need today's rate?
Get a free quoteWhat is a post-forming laminate?
A post-forming laminate is a grade made to be heated and bent around a rounded edge without cracking. IS 2046 lists it as a separate type, Type P: similar to a standard sheet, but able to be formed following the maker's recommendations. You see it on rounded counter fronts, bullnose table edges and curved shutter edges.
Thickness and bend go together here. Each maker gives its own minimum radius and forming temperature for its post-forming sheets, and a standard sheet of the same thickness will usually crack on the same curve. If your design has a rounded edge, ask for the post-forming grade by name and let the fabricator confirm the radius before the sheets are ordered.
How do you check laminate thickness in the store?
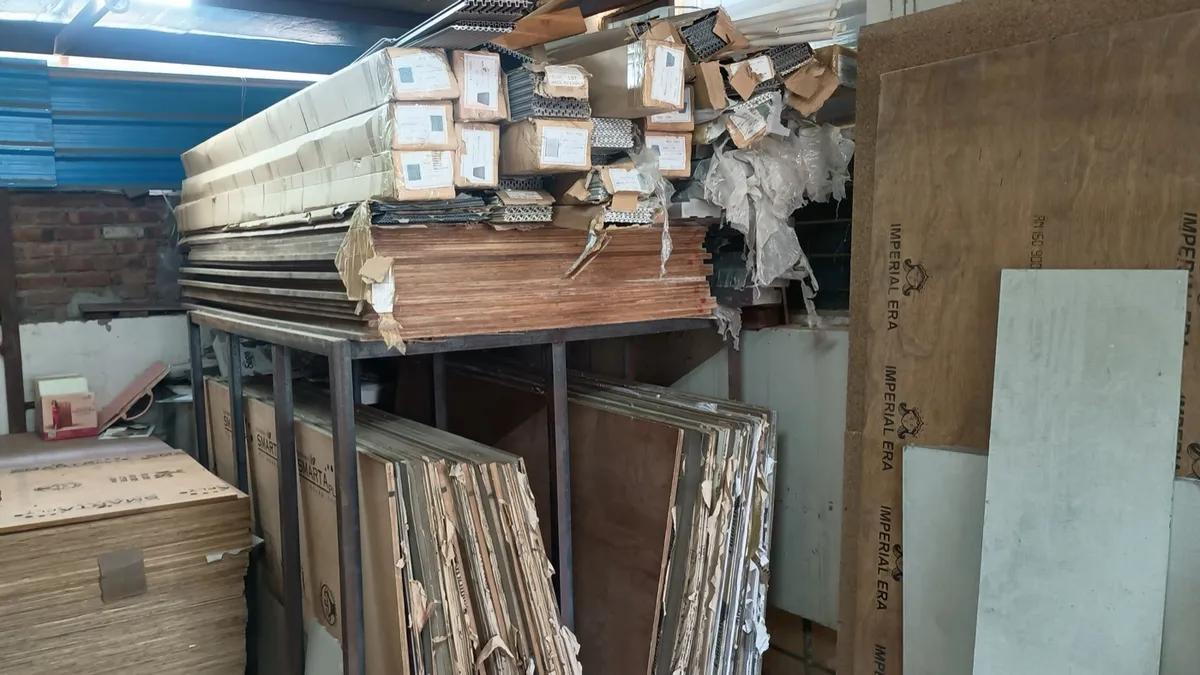
The differences are small, so the check has to be careful. IS 2046 allows a variation of ±0.10 mm on sheets from 0.5 mm to 1.0 mm thick, and ±0.15 mm on sheets above 1.0 mm up to 2.0 mm.
- Read the label and the bill. The design code, the finish and the thickness should all be written on the invoice.
- Measure at the edge with a micrometer or dial gauge that reads to 0.01 mm, which is what IS 2046 specifies. A tape cannot tell 0.8 mm from 1 mm.
- Measure in more than one place on the sheet, and compare with the thickness you ordered.
- Compare sheets side by side. A 0.8 mm and a 1 mm sheet of the same design feel different when you flex a corner.
- Check the liner too, so the inside faces are not quietly skipped or swapped.
How does thickness change the way laminate is fixed?
- Condition first: stack laminate, liner and board together in the room for a couple of days before pressing, as the makers advise.
- Balance every panel: a decorative sheet outside and a liner inside, or the same sheet on both faces for tall doors.
- Match the edge-band to the face, and seal every exposed edge, especially near the sink.
- Keep thicknesses consistent across doors that sit side by side, so the gaps and edges line up.
- Use post-forming grade for rounded edges, never a standard sheet forced round a curve.
Once the thickness is settled, the finish is the next choice: see the laminate finishes guide, or check the sunmica vs laminate glossary if your list uses trade terms. For a full kitchen, the kitchen section shows how Sri Sri Plywoods builds shutters in its own workshop.
The Sri Sri Plywoods rule: spend on the right board and a liner on every inside face before you spend on a thicker face sheet. A balanced 0.8 mm panel outlasts an unbalanced 1 mm one.