In this guide
- Finish civil, plumbing and electrical work before the kitchen arrives; a site that is not ready holds up everything after it.
- Nothing should be cut until you have signed off the layout, finishes, hardware and appliance sizes.
- Base units go in first, then wall units; the countertop is templated on the fixed base units, then fitted.
- Check every shutter, drawer, hinge and socket against a snag list before you sign the handover.
- Collect the warranty in writing at handover; Sri Sri kitchens carry 10 years on the carcass and 5 on hardware.
What is the modular kitchen installation process?
The modular kitchen installation process has ten stages: site measurement, design and 3D layout, material and finish selection, sign-off, factory manufacturing, site preparation, delivery, installation, countertop and appliance fitting, and handover with a snag list. At Sri Sri Plywoods, one team handles the design, the workshop and the fitting.
- Site measurement. Every wall, window, door, column, water point, drain and socket is measured and marked.
- Design and 3D layout. The layout is drawn around the room and the way you cook, and shown in 3D.
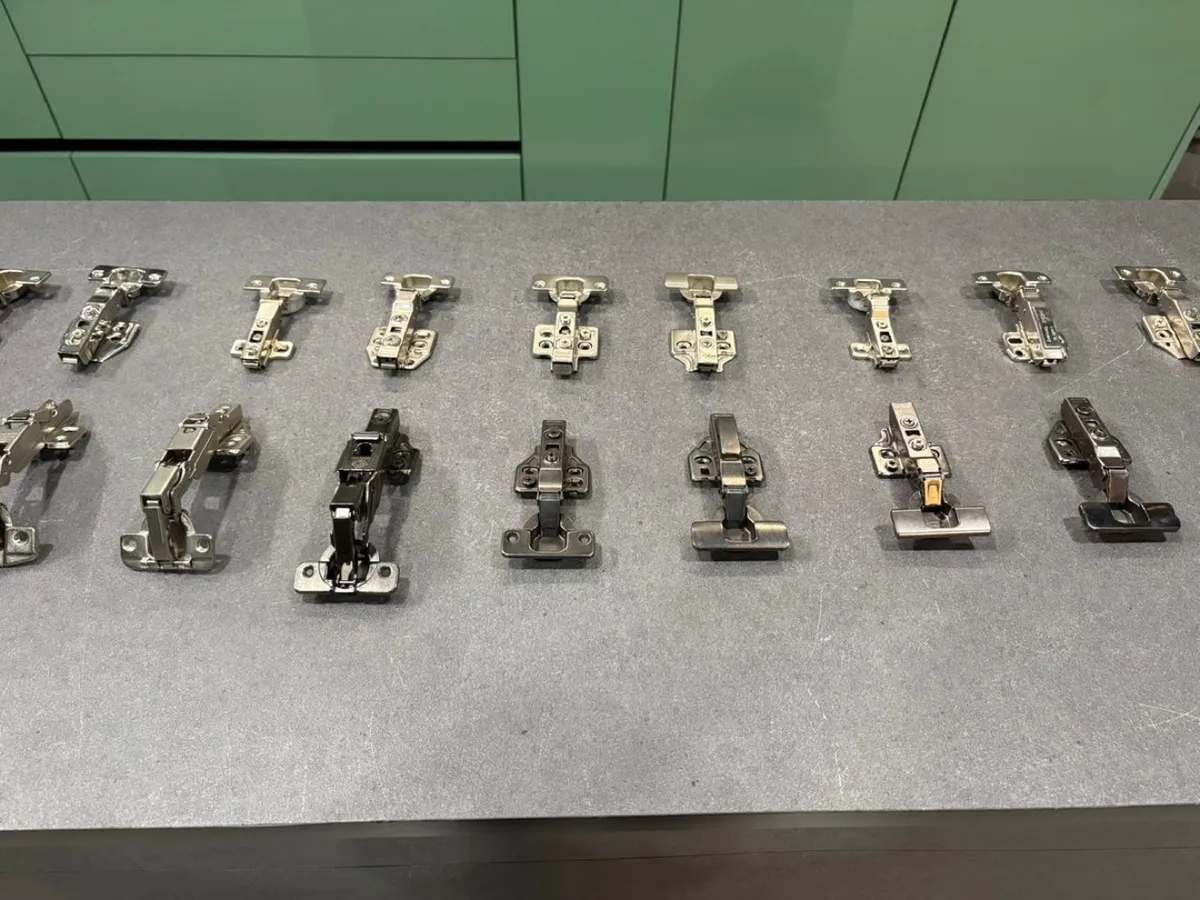
- Material and finish selection. Carcass board, shutter finish, handles, hinges, channels and baskets are chosen.
- Sign-off. The final drawings, specification and quote are approved. Nothing is cut before this.
- Factory manufacturing. Panels are CNC-cut, edge-banded and finished, and hardware holes are drilled.
- Site preparation. Civil, plumbing, electrical, flooring and painting work is completed at home.
- Delivery. The finished units reach the site, packed to protect the finish.
- Installation. Base units are levelled and fixed, then wall units, lofts and tall units.
- Countertop and appliance fitting. The stone is templated, cut and fitted; then the sink, hob and chimney.
- Handover and snag list. Every part is checked and adjusted, and the warranty is handed over.
The table shows who does what at each stage. Most of the homeowner's jobs are decisions, and most delays happen when one of those decisions comes late.
| Stage | Kitchen team | Your job |
|---|---|---|
| Measurement | Measures the room and every service point | Share how you cook, and any appliances you already own |
| Design and 3D layout | Draws the layout and storage plan | Review it with everyone who cooks |
| Materials and finishes | Shows boards, finishes and hardware | Choose, and confirm appliance models and sizes |
| Sign-off | Issues final drawings and quote | Approve in writing |
| Manufacturing | Cuts, edge-bands and finishes the units | Finish the civil and electrical work |
| Installation | Fits units, stone, sink and appliances | Keep the kitchen clear and accessible |
| Handover | Tests and adjusts everything | Check the snag list; collect the warranty |
How long does modular kitchen installation take?
Sri Sri Plywoods installs its modular kitchens in 14–21 days, with its own team and a dust-managed install. The actual time for any kitchen depends on its size, the finishes chosen and, above all, whether the site is ready. Civil, plumbing or electrical work that is still pending when the units arrive holds up every stage after it.
A straight kitchen in laminate is quicker to make and fit than a U-shaped kitchen in PU with a tall pantry and an island. Stone fitting also adds a gap, because the countertop can only be templated once the base units are fixed.
The best way to protect the timeline is to separate the two tracks. While the units are being made, the site work should be finishing at home. When the units arrive, the room should be ready to receive them.
What happens during design and material selection?
This is where the kitchen is really decided, so give it time. A good design visit covers how many people cook, what you cook most, and what you store. Sri Sri Plywoods designs for Indian cooking: tall units for atta dabbas, pull-outs for pressure cookers, and a chimney planned for tadka.
Three decisions shape everything that follows:
- The layout. Straight, L, U, parallel or island, fitted around the room's doors, windows and plumbing. Our guide to modular kitchen layouts compares them.
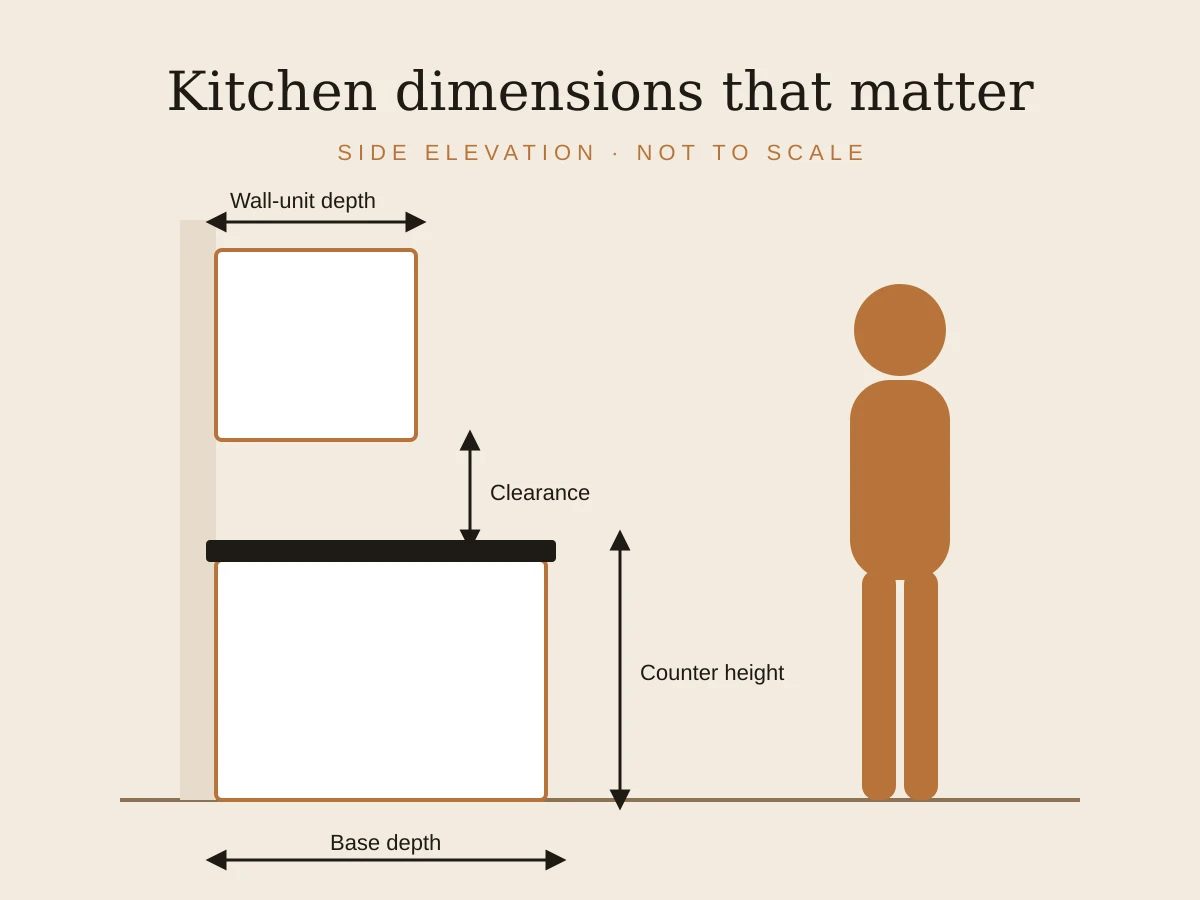
- The heights and depths. Counter height for the main cook, and clearances for the chimney and wall units. See our kitchen dimensions guide.
- The finishes and hardware. Laminate, acrylic, PU or membrane shutters, and the hinge, channel and basket choices. Our shutter finishes comparison helps here.
Confirm the model and size of every appliance before sign-off: the hob, chimney, built-in oven or microwave, dishwasher, RO and fridge. Cabinets are cut to fit them, so a late change can mean a new unit.
How are modular kitchen cabinets made in the factory?
Once the design is signed, each panel is cut to size, edge-banded to seal its cut edges, drilled for hinges and channels, and finished. Precision matters here: panels that are cut square fit together without gaps, and shutters line up without constant adjustment.
At Sri Sri Plywoods, carcasses and shutters are CNC-cut and PU-finished in their own workshop, so the kitchen arrives factory-finished. That also means less cutting, sanding and painting inside your home, which is what makes a dust-managed install possible.

Planning a kitchen?
Get a free quoteWhat must be ready before the kitchen is installed?
The site should be finished, dry and clear before the units arrive. Use this list, and tick it off with the designer a few days before delivery.
- Civil work complete: old platform removed if planned, walls plastered and level, any chiselling for pipes done.
- Plumbing points fixed where the design places the sink, RO, dishwasher and washing machine, and pressure-tested for leaks.
- Electrical points in place for the chimney, hob (if electric), microwave, oven, RO, fridge and under-cabinet lights, at the heights on the drawing.
- Chimney duct opening cut in the outside wall, on the route the design shows.
- Floor finished and cured, so the base units stand on the final level.
- Wall painting done, at least the primer and base coats, and any wall tiling agreed with the designer.
- Gas line positioned by an authorised provider where the hob will sit.
- Clear access for the team, with the room emptied and a place to store the units on arrival.
What happens on installation day?
The team usually works from the floor up. Base units go in first, levelled on their legs and fixed to each other and to the wall. Wall units and lofts are fixed next, then tall units. Shutters, drawers and hardware are fitted and aligned.
The countertop is templated once the base units are fixed, then cut and fitted, with openings for the sink and hob. After the stone is in, the sink and tap are connected, the hob is placed, and the chimney is mounted and ducted. Faber, for example, advises keeping the chimney duct short and with as few bends as possible.
What should you check at handover?
Walk through the kitchen with the installer before you sign anything, and write down every issue on the snag list.
- Every shutter closes flush and soft, with even gaps between doors.
- Every drawer and basket runs smoothly at full load and closes without bouncing.
- Edges and faces are free of chips, scratches, lifting edge-banding and glue marks.
- The sink and taps run with no leak under the sink after a few minutes.
- The hob, chimney and sockets work, and the chimney vents outside.
- The countertop is level, with clean joints and sealed edges around the sink.
Collect the paperwork: the final drawings, the list of materials and hardware brands, and the warranty in writing. Sri Sri Plywoods kitchens carry 10 years on the carcass and 5 years on hardware, backed by Hettich and Hafele, plus a free annual check-up for the first two years. More about the service is in the kitchen section on our homepage.
The Sri Sri Plywoods rule: finish the site before the units arrive, and don't sign the handover until the snag list is clear.